
Installing the scanner driver from the CD-ROM (Windows)
Solution
CAUTION
* Do NOT connect the scanner to a computer before installing the scanner driver. The scanner may not operate properly if it is connected to a computer before installing the software. Pay attention to this point.
* You need to restart your computer after the installation is completed. Read this page carefully and quit all running applications before starting the installation.
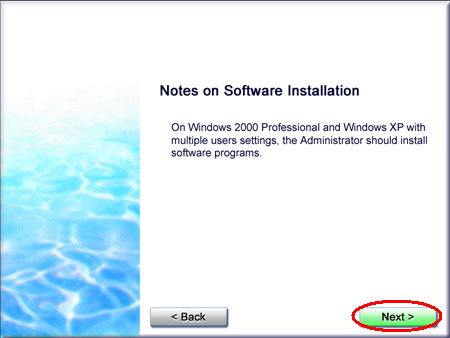
* If your Windows computer is used with multiple users, log in as an Administrator (System administrator) to install the software. Continue the installation if your computer is not used with multiple users. Refer to the manual or help of Windows for details.
* The Setup CD-ROM contains softwares and important information that will not be reissued or redistributed if it is once lost or damaged. Store it in a safe place after the installation.
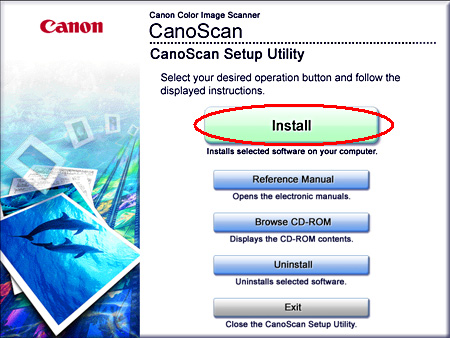
* The main menu of the CanoScan Setup appears.
- The Notes on Software Installation will be displayed.
In this example, all of the softwares and "Scanning Guide" will be installed.
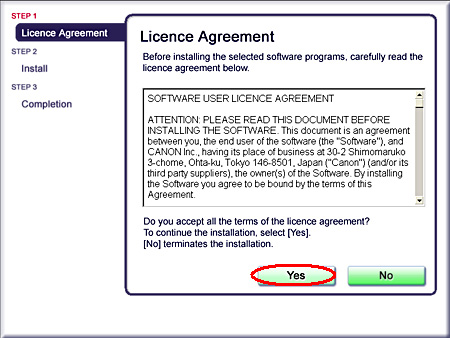
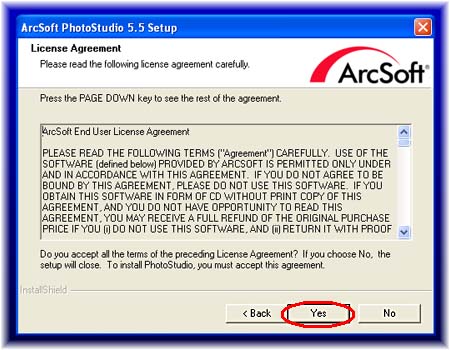
The License Agreement will be displayed.
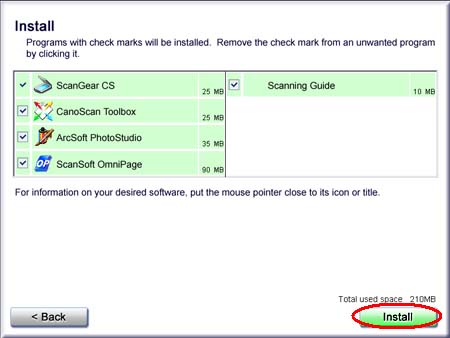
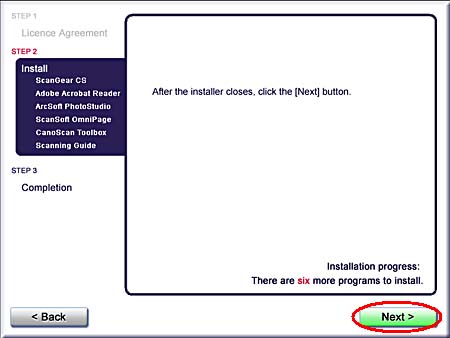
6. Following the instruction on the screen, click [Install] or [Next] to install the selected softwares.
Softwares will be installed in the order displayed on the screen.
During the installation, do not click any items other than those specified in dialogs (messages) that appear on the screen.

* Do not click [Cancel] while the following dialog box is displayed.
* After installation of the scanner driver, installation of each application will start.
The installer or installation wizard of each application starts sequentially. Click [Yes] or [Next] to continue the installation.
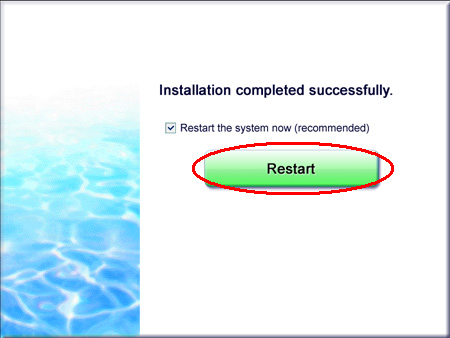
A message prompting you to restart the computer will be displayed.
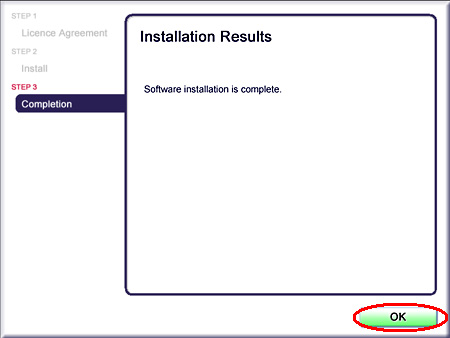
You cannot use the scanner unless you restart the computer.
If the menu screen appears, click [Exit] and then remove the CD-ROM.
CAUTION
* Make sure that the lock switch is released.
* Connect the scanner to the computer with the supplied USB cable.
* The scanner may not work properly if the scanner is connected via USB hub. In this case, connect the scanner to the computer directly.