21-Mar-2013
8201782000
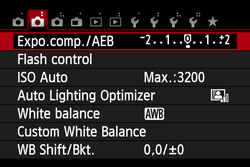
 >: Shooting tab 2 / <
 >: Setting button / <
 >: Main Dial / <
 >: Cross keys / [
  ]: Single shooting / [
  ]: Silent single shooting / [
  ]: Continuous shooting / [
  ]: Silent continuous shooting / [
  ]: Self-timer 10-sec./Remote shooting / [
  ]: Self-timer 2-sec. /
  : 10-sec. delay with continuous shooting
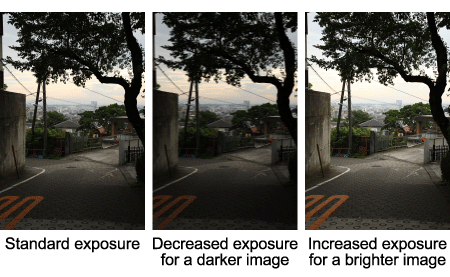

 > keys to select the [ ] tab. Press the <
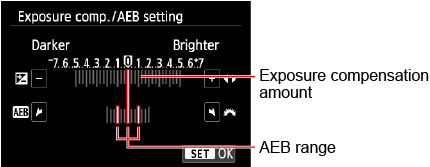
 > keys to select>.
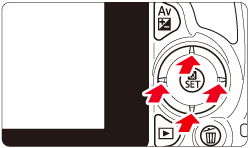
 > dial to set the AEB range. Press the <
 > keys to set the exposure compensation amount. If AEB is combined with exposure compensation, AEB will be applied centering on the exposure compensation amount.

 > to set it.
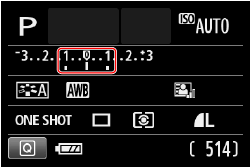 ] [ ] (single shooting). ] [ ] (continuous shooting). ] (10-sec. self-timer) and [ ] (2-sec. self-timer). ] (10-sec. self-timer plus continuous shots).: Auto Lighting Optimizer] is set to any setting other setting than [Disable], the effect of AEB may be minimal.